Experiencing the discomforts of sciatica and back pain is extremely common during pregnancy. To a certain extent, it can be normal to experience back pain at 15, 28, or 36 weeks pregnant, but it isn’t something you should ignore or put up with! Whether it’s your first or your third pregnancy, you’ll be glad to know there are many things you can do to ease back pain in pregnancy (and even prevent it too). In this article, we present to you easy pregnancy-safe yoga poses for sciatica and back pain relief with Everform founder, physiotherapist, prenatal yoga instructor, and pregnancy wellness specialist, Rosie. But before we jump into these amazing yoga poses for pregnancy, it’s essential to know about some basic information to guide you through.
WHAT IS SCIATICA?
Sciatica refers to radiating pain from the back or buttocks region down into your leg and is usually one-sided. Back pain which travels into your leg has any associated weakness, pins and needles or changes in sensation (especially around the “saddle region”) should always be checked out by your doctor or treating women’s health therapist. Some example cases include not being able to feel yourself when you wipe after the toilet or sensation is changed or reduced in this area (which merits a visit to your heathcare provider straight away). For the milder cases and general lower back niggles, incorporating some DIY treatments at home can go a long way to relieving pregnancy-related back pain. Read on for some of the best yoga exercises to relieve and manage back pain during pregnancy.
CAUSES OF BACK PAIN IN FIRST TRIMESTER
Back pain can begin early in pregnancy, though it is more common after approximately 18 weeks of gestation. Back pain earlier in pregnancy around the 15-week mark (usually) indicates that hormonal changes are at play. We know this because most women wouldn’t have had great postural changes that come with pregnancy at such an early stage. There are a few common misunderstandings or myths about back pain during the first trimester that are important to debunk:
- We often “blame” the hormone, Relaxin, as a cause of back pain. However, our blood hormone levels of Relaxin actually peak earlier in pregnancy – around 12-16 weeks. Keep in mind that Relaxin levels in our body will drop slightly mid-pregnancy and then rise again in the later stages of pregnancy in preparation for childbirth.
- Changes in body posture, increased weight, reduced core strength and general less physical activity are often “causes” of back pain in the first trimester of pregnancy.
CAUSES OF BACK PAIN IN SECOND AND THIRD TRIMESTER
As women progress further into pregnancy, physical stressors such as increased weight and changed weight balance (or altered centre of gravity due to larger breasts, and softened ligaments) can be major causes of back pain. Other emotional and mental factors such as stress and anxiety can come into play during the second and third trimester pregnancy and likely aggravate sciatica and back pain. To summarise, back pains are common during pregnancy, due to many factors, including:
- Postural changes
- Reduced pelvic floor and core muscle functioning
- Changes in gait
- Changes in activity levels
- Stress
- Job dissatisfaction and uncertainty about the future
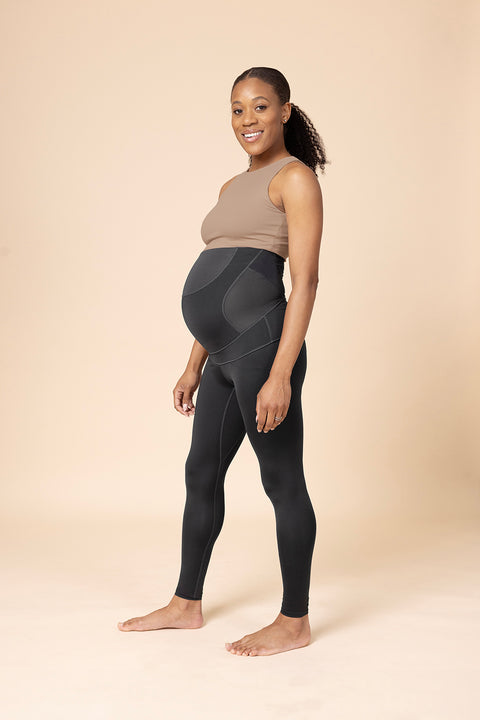
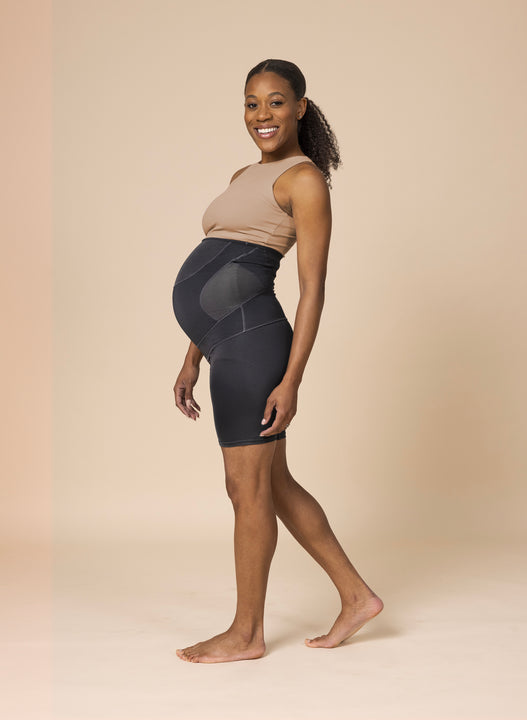
But there are easy exercises you can do at home to relieve back pain - along with our Support wear products such as the Pregnancy Support Shorts and Pregnancy Support Leggings - expertly designed to support your lower back, pelvis, and bump to help keep you moving and feeling well. Now, let’s get down to the nitty gritty of it all!
YOGA EXERCISES AND STRETCHES TO RELIEVE BACK PAIN
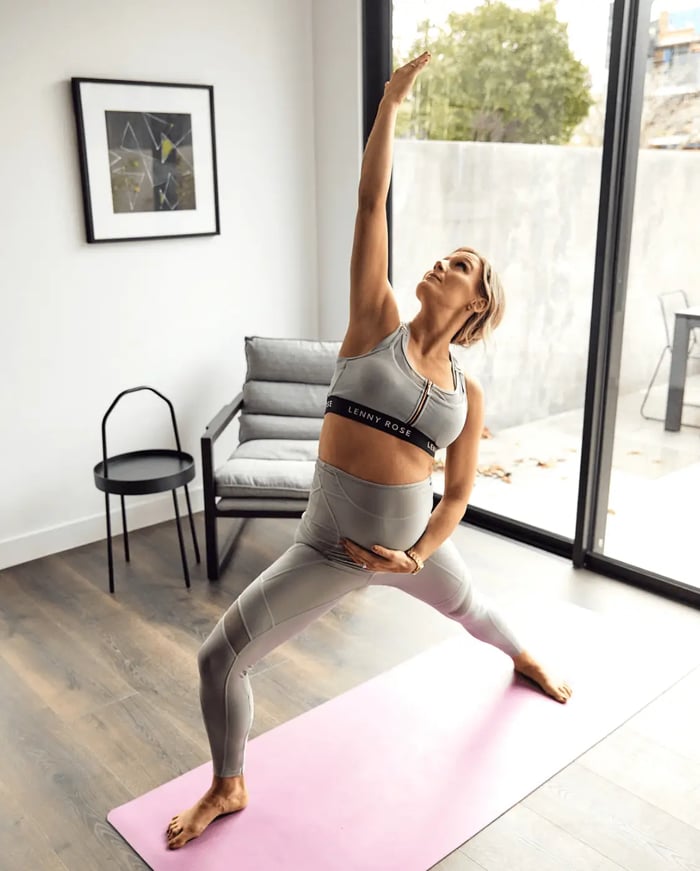
As back pain is often caused by a combination of physical and emotional stressors, yoga, mindfulness, and meditation can be great ways to relieve discomfort from mild to moderate back pain in pregnancy. If you’re interested in the science behind yoga exercise, you will love this! During pregnancy, yoga stretches are best held only to about 70% of your range. Whilst you want to stretch into muscles and fascia (connective tissue), you should avoid placing more stress on your joints. At this stage, your joints are already at risk with the effects of Relaxin, Oestrogen, and Progesterone causing a mild softening to the supporting ligaments. Traditional pregnancy focuses on stretching and opening the body, which is necessary and important. However, it is just as important to emphasise on strengthening your deep core muscles, pelvic floor and glutes.
Here are some of my favourite prenatal yoga poses (with steps) to help relieve back pain in pregnancy. (For some yoga poses, you will need 1-2 blocks and a bolster.)
HIP & QUADS STRETCH

- Using a block or bolster, come down onto your knees.
- From a kneeling position, step the right foot forward.
- Place the block or bolster on the inside of your front foot.
- Place your hands on them to keep your body more upright using it as a support.
- Engage your buttocks and draw your tummy to your spine as you lunge forward into the front leg.
- Remain upright and active in the legs and core as much as possible, rather than flopping into the position. This helps to gently open up the front of the hips. Hold for 30 seconds.
- Lunge the front leg backwards and repeat 2x on each side.
PIGEON POSE

You will need a bolster, or long pillow and a block for this pose, especially if you are later in pregnancy to make room for your bump and support your pelvis.
- Start on all 4s or in a kneeling position by bringing the right foot to step forward.
- Place the bolster length-ways in front of you and your block on your right. Later in the pose, you will bring the bolster to the inside of your front leg and nuzzle it up to the left thigh.
- Walk the right foot over to the left a little.
- Then, lay the right knee on the floor near your right hand. The foot may be close to the groin or closer to your left hand, depending on your flexibility.
- Place the block (or second pillow) under your right butt cheek.
- Draw the bolster closer to you, so you can start to lay more forwards over the bolster. Alternatively, if you can choose to stay more upright if the stretch is already very intense. The intensity of the stretch should be felt around the right outer hip region.
- Hold the pose for 1-3 minutes. Practise relaxed breathing and keep your face, neck and jaw relaxed.
CHEST STRETCH AGAINST THE WALL
- Start standing facing the wall.
- Stretch your right arm along the wall at shoulder height with your palm down on the wall.
- You may need to start further away from the wall than usual to accommodate your bump.
- Start to turn your body away to the left away from the wall whilst keeping your palm, forearm and arm resting against the wall.
- You can step slightly forwards with the inside (right) leg to intensify the pose further.
- Hold 15-20 seconds and repeat the pose 2-3x each side.
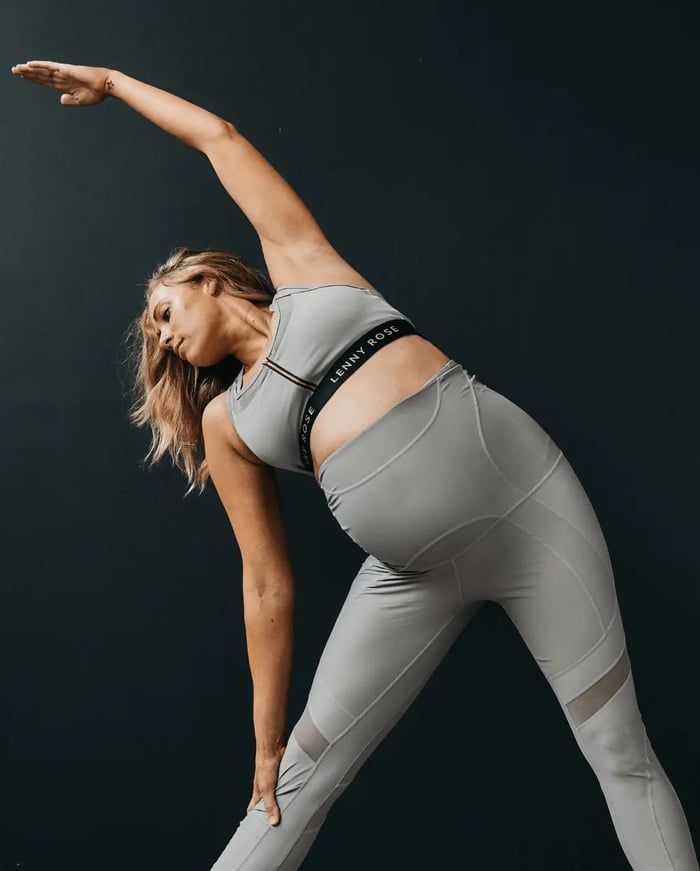
TRIANGLE POSE

This is an active pose through legs and core. Most importantly, do not collapse onto your front leg and avoid locking your front knee.
- From a standing position, step the right leg back.
- Aim to have about a meter between your feet from front to back and your feet just slightly wider than hip distance apart.
- Place your front foot at the top of your yoga mat facing directly forward.
- Place your back foot on a 45-degree angle, so that your toes are pointed a little more forwards than they do directly to the side of your yoga mat.
- Take an inhale and stretch your arms out front and back so that your arms are parallel to the ground.
- As you exhale, engage your inner legs, butt, pelvic floor and tummy.
- Take your left hand just above your left knee as your right arm reaches up to the sky.
- Keep your breath steady and even and hold the pose for 3-5 breaths.
- Return to the starting position by taking your back foot forward 2-3 steps.
- Repeat this yoga pose on the opposite side.
CAT COW

This yoga pregnancy exercise is one of the best core and back strengthening exercises to increase range of motion through the spine.
- Start on all 4s.
- Ensure your hands are placed in-front of your shoulders (rather than directly underneath) and your knees inlined with your hips.
- On inhale, take a deep breath in.
- On exhale, press away from the ground with your hands, engage your pelvic floor and round your upper back.
- Inhale to come back to a neutral position.
- Exhale to wrap your belly to spine by lifting your pelvic floor and taking a small upper back bend (instead of doing the yoga pose with a full range of motion, keep your gaze forwards, lift the heart bone slightly and engage your core).
BACK STRENGTHENING (ON ALL 4S)
In the first and second trimester, you could make this exercise more challenging by extending your left (or opposite) leg back behind you and pressing the ball of your foot into the floor. The key is to keep the back leg really activated.
- Start on all 4s.
- Place your hands just in front of your shoulders (rather than directly underneath) and knees under hips.
- Take a breath in.
- On exhale, engage your pelvic floor and lower tummy (transverse abdominus). Imagine “hugging your baby” with your tummy muscles.
- Lift your right arm up and out to the side, with a 90-degree bend in your elbow.
- On inhale, rotate towards the right whilst squeezing your right shoulder blade. Imagine yourself pulling your shoulder blades down your back towards the opposite butt cheek.
- On exhale, engage and lift your pelvic floor by “hugging your baby to your spine” as you return to the starting position.
- Repeat 3-6x on each side before adjusting your position.
ABS MUSCLE SEPARATION & ITS IMPACT ON YOUR BACK
Whilst there are varying schools of thought (and conflicting research) on the impact of ab separation (known as diastasis recti or DRAM) on lower back pain, pelvic floor and continence, it’s hard to ignore the impact of the changed anatomy of pregnancy on the lower back. Abdominal separation is a normal part of pregnancy, with recent research agreeing that by 30 weeks of gestation, almost 100% of women will have some degree of ab separation. It’s not so much about the gap or distance between your abs (the six-pack muscles or rectus abdominus) but whether or not you can create core tension and still adequately transfer load between one part of your body to another, through your trunk. Learning to engage your pelvic floor and deep core muscles and incorporating this into your daily physical activities are key for a strong back.
As a mum of 4, I can vouch that these small actions can and will go a long way in reducing the impact and stress on your lower back. So there you have it. 6 simple yoga exercises perfect for pregnant women of all fitness levels, at all trimester stages.
If you want to read more about exercising during pregnancy from a health professional's point of view, download our FREE Prenatal Pregnancy Exercise Ebook now.
